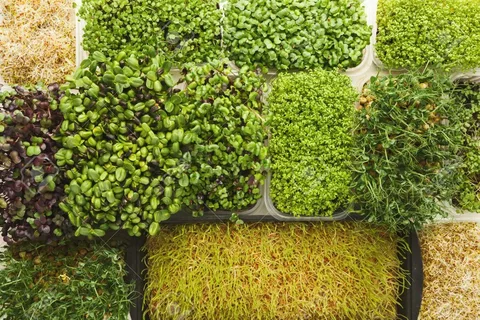
Microgreens, including kale microgreens, are nutrient-packed miniature versions of their fully-grown counterparts, bursting with flavor and health benefits. Growing kale microgreens at home is not only simple but also rewarding. In this expert guide, we’ll walk you through the steps to successfully cultivate kale microgreens.
Selecting the Right Variety of Kale Seeds
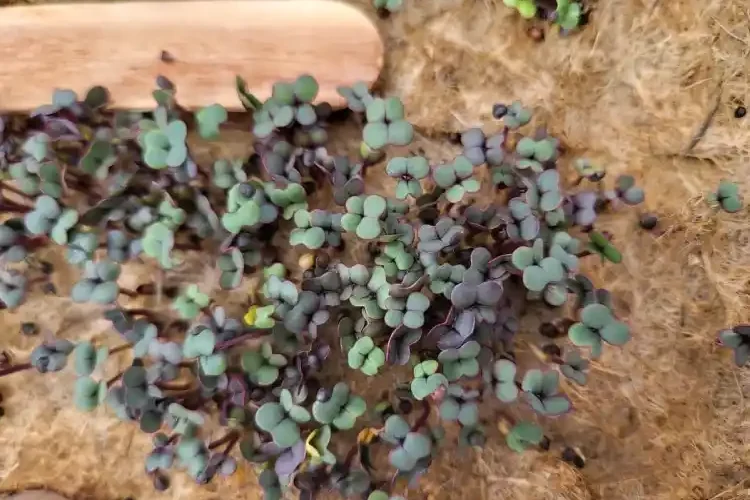
Choosing high-quality seeds is crucial for successful microgreen cultivation. Opt for certified organic kale seeds from reputable suppliers or nurseries. Varieties like Dwarf Blue Curled Kale or Red Russian Kale are popular choices for microgreen production due to their tender leaves and robust growth.
Ensure that the seeds are specifically labeled for microgreen production, as they are often untreated and optimized for quick germination.

Preparing the Growing Medium
Kale microgreens thrive in a nutrient-rich and well-draining growing medium. A popular choice is a soilless mix consisting of peat moss, perlite, and vermiculite. Alternatively, you can use coconut coir or a commercial microgreen growing mat.
Before sowing the seeds, moisten the growing medium thoroughly to provide adequate moisture for germination.
Sowing and Germination
Spread the moistened growing medium evenly in shallow trays or containers with drainage holes. Sprinkle the kale seeds densely but evenly across the surface of the medium. Gently press the seeds into the soil to ensure good seed-to-soil contact.
Cover the seeds with a thin layer of growing medium and mist the surface with water to keep it moist. Place the trays in a warm, well-lit location, ideally with temperatures around 70-75°F (21-24°C).
Germination typically occurs within 2-3 days, after which you can remove any covering and continue to provide ample light and moisture.
Light and Temperature Requirements
Kale microgreens require adequate light for healthy growth and development. Position the trays in a location where they receive at least 6-8 hours of direct sunlight per day. If natural light is insufficient, supplement with grow lights, keeping them 2-4 inches above the growing trays.
Maintain a consistent temperature range of 60-75°F (15-24°C) throughout the growing period to support optimal growth.
Watering and Humidity
Proper watering is essential for preventing mold and ensuring the health of your kale microgreens. Water the trays gently using a spray bottle or a gentle watering can to avoid disturbing the delicate seedlings. Aim to keep the growing medium consistently moist but not waterlogged.
Maintain humidity levels of around 40-60% by misting the trays regularly or using a humidity dome to cover the seedlings until they establish themselves.
Harvesting and Storage
Kale microgreens are ready to harvest when they reach a height of 1.5-2 inches and develop their first set of true leaves, typically within 7-14 days after germination. Use clean scissors to snip the microgreens just above the soil line.
Immediately after harvesting, rinse the microgreens gently under cold water to remove any residual soil or debris. Pat them dry with paper towels or use a salad spinner to remove excess moisture.
Enjoy your fresh kale microgreens immediately or store them in airtight containers lined with paper towels in the refrigerator for up to a week.
Additional Tips and Considerations
- Rotate the trays regularly to ensure even growth and prevent leggy or unevenly developed microgreens.
- Avoid overwatering, as it can lead to root rot and other moisture-related issues.
- Monitor for pests such as aphids or fungal diseases, and address them promptly using organic pest control methods if necessary.
- Experiment with different kale varieties and growing techniques to find what works best for you.
- Lip Filler London – Lip Augmentation & Natural Lip Enhancement - December 16, 2025
- Tennessee’s THC Beverage Market - June 5, 2025
- Top THC Infused Seltzers in Delaware - June 5, 2025


