Whether you’re starting a website, exploring web development, or simply seeking a secure platform for remote work, Windows 11 VPS (Virtual Private Server) can open the door to a world of possibilities. This guide will equip you with the knowledge and confidence to master Windows 11 VPS, transforming you from a curious beginner to a virtual expert in no time.
Why Windows 11 VPS is Perfect for Beginners
Think of traditional shared hosting as a busy apartment block where everyone shares the same resources, leading to unpredictable performance. Windows 11 VPS, on the other hand, is like your own private flat within that block. You get dedicated resources, ultimate control, and the power to tailor your virtual environment to suit your needs. Here’s why Windows 11 VPS is ideal for beginners:
1. User-Friendly Interface
Windows 11 VPS uses the familiar Windows 11 interface, making navigation and management effortless—especially for those who are already accustomed to using Windows. This makes it an ideal choice for those who want to skip the learning curve often associated with more complex systems.
2. Scalability
As your projects grow, so can your Windows 11 VPS. You can easily upgrade your plan to access more resources when needed, allowing you to scale without the headache of migrating to another server.
3. Cost-Effective
When compared to dedicated servers, Windows 11 VPS offers a cost-effective solution, giving you the benefits of dedicated resources and high performance at a fraction of the cost.
4. Safe Learning Environment
A Windows 11 VPS offers a secure and isolated space to experiment with software, web development, or server administration. It’s the perfect way to learn without risking damage to your primary computer or network.
Now that you’re excited to dive into the world of Windows 11 VPS, let’s equip you with the tools for success, including the use of KMS activators for seamless software activation.
Choosing Your Trusted VPS Partner
Selecting the right hosting provider is crucial for a smooth Windows 11 VPS experience. Think of them as your guide through the virtual landscape. Here are some key factors to consider:
1. Reliability
Look for a provider with a strong reputation for uptime and reliable infrastructure. Your VPS should be available when you need it, without interruptions or downtimes.
2. Security
Ensure your chosen provider takes security seriously. Look for robust firewalls, data encryption, and other protection measures to safeguard your VPS from threats.
3. Customer Support
Responsive and knowledgeable customer support is invaluable, especially for beginners. Opt for providers offering 24/7 support channels, so you can always get help when you need it.
4. Pricing
VPS plans come at various price points. Consider your budget and choose a plan that gives you enough resources for your current needs while remaining flexible as your requirements evolve.
Setting Up Your Windows 11 VPS: A Step-by-Step Journey
Once you’ve selected your hosting provider, it’s time to set up your Windows 11 VPS. Most providers offer user-friendly control panels that will guide you through the process. Here’s a general roadmap:
1. Purchase Your VPS Plan
Select a plan that aligns with your needs and budget from your chosen hosting provider.
2. Access the Control Panel
Your provider will provide login credentials for the VPS control panel, where you’ll be able to manage your server.
3. Deploy Your Windows 11 OS
Through the control panel, choose and deploy the Windows 11 version you prefer for your VPS.
4. Configure Server Settings
Set up user accounts, passwords, and basic security measures to ensure your VPS is ready for use.
5. Connect to Your VPS
Most providers offer tools within the control panel that allow you to remotely connect to your Windows 11 VPS using RDP (Remote Desktop Protocol).
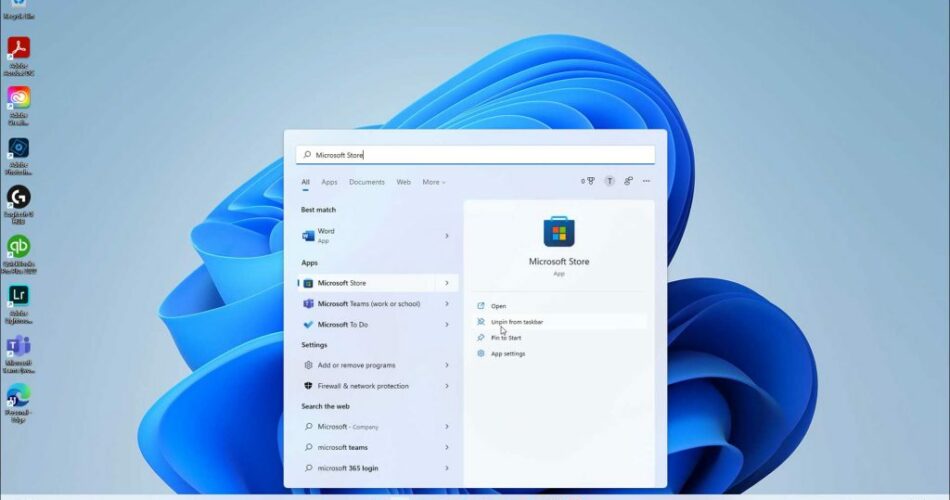
Exploring Your Virtual Domain: Navigating the Interface
Congratulations! You’re now connected to your Windows 11 VPS. The user interface will be familiar to anyone who has used Windows 11 before. Here’s an overview of key elements to get you started:
1. Start Menu
The Start Menu is your gateway to launching applications, searching for files, and accessing system settings.
2. Taskbar
Quickly access frequently used applications and running programs from the taskbar.
3. Desktop
Your desktop is your personal workspace for organising files, launching apps, and managing tasks.
Feel free to explore and customise the interface to suit your preferences. Most settings are accessible through the Start Menu or the Windows 11 Settings app.
Optimising Your Performance: Fine-Tuning Your VPS
To ensure your Windows 11 VPS runs smoothly and efficiently, here are a few techniques to optimise its performance:
1. Resource Allocation
-
Monitor Resource Usage: Keep an eye on CPU, RAM, and disk space usage via Task Manager or tools provided by your hosting provider.
-
Allocate Resources Wisely: Adjust the allocation of resources between applications to ensure critical processes get the power they need. Many control panels allow for this flexibility.
-
Consider Upgrading: If your resource usage consistently hits its limits, consider upgrading your VPS plan to gain more CPU cores, RAM, or storage.
2. Software Optimisation
-
Install Only Essential Software: Avoid cluttering your VPS with unnecessary applications. Only install the tools and programmes you need for your work.
-
Keep Software Updated: Regular updates are vital for both performance improvements and security patches.
-
Optimise Startup Programs: Use the Task Manager to disable unnecessary startup programmes. This reduces the load on system resources, speeding up your VPS.
3. Security Measures
-
Use Strong Passwords: Implement robust and unique passwords for all user accounts on your VPS to minimise security risks.
-
Firewalls: Configure your firewall to allow only trusted traffic and block malicious connections.
-
Antivirus and Anti-malware Protection: Install reliable antivirus software to protect your VPS from potential threats.
-
Backups: Regularly back up your important data to a secure location to avoid data loss.
4. Monitoring and Management
-
Utilise Monitoring Tools: Most hosting providers offer server monitoring tools within the control panel. These tools let you track resource usage, server uptime, and identify issues.
-
Learn Basic Server Administration: Familiarise yourself with basic server administration skills to better manage your VPS. Plenty of online tutorials are available to help you get started.
By following these optimisation tips, you can ensure your Windows 11 VPS runs at peak performance, offering a reliable and secure platform for your digital projects.
Conclusion
You’ve now begun your exciting journey into the world of Windows 11 VPS. Mastering your VPS will take time and practice, but with patience, you’ll soon be navigating your virtual environment with ease. Don’t hesitate to experiment, explore the resources your hosting provider offers (such as tutorials or knowledge bases), and reach out to customer support if you need assistance. With dedication, you’ll unlock a world of possibilities for your digital endeavours.

- Rhode Island’s Favorite THC Infused Beverages - June 5, 2025
- THC Soda and Drink Options in Idaho - May 28, 2025
- Ohio’s Go-To THC Infused Beverages - May 28, 2025